
In this tutorial, we’ll discuss how to install Skype on Ubuntu 18.04, 20.04, and 21.04 with a number of helpful approaches. This app is considered to be a must have application for a Linux platform as it easily helps to connect with your friends or loved ones with tremendous features.
About Skype and Its Features
Skype is a widely known application that helps users to make communications easily all across the world. Technically, this application is available for cross platforms including Windows, Mac OS X and even for Linux as well. So, having this app allows you to make free online audio or video calls easily. Even it offers you to make international calling to mobiles and landlines as well with affordable plans.
Take a look on some of its features here:
- HD (High Definition) Audio-Visual Calling: With the help of Skype, you can make crystal clear and HD video calling.
- Call Recording and Subtitles: Allows to record calls and capture special moments, note keys, etc. also, it allows to read live subtitles of words that are spoken.
- Smart Messaging: Offers you to react to any message with various emojis, or @mentions to grab attention.
- Make Phone Calls: Skype even helps to connect with your friends even when they are offline with direct phone calls. It offers various affordable international calling rates for mobiles and landlines.
- Screen Sharing: Not just phone calls or video calls, you can also share presentations,, and any of your screen contents during a call with integrated screen sharing.
- Private Conversations: Offers end to end industry standard encryption to keep your sensitive conversions private.
How to install Skype On Ubuntu Linux versions?
Since the Skype app is a closed-source application, it can’t be included in the standard Ubuntu repositories. But still, the users can easily install the app on Ubuntu Linux versions easily with a number of approaches. This article includes all such guidelines here:
Click here to install Skype on Debian
Click here to install Skype on Fedora, RHEL, CentOS
Approach 1: Install Skype On Ubuntu Via Software Center
In order to install the app on Ubuntu desktop, the easiest way is to use Software Center as it helps you to install the app with just a single click. To install Skype, just open in-built Software Center and search ‘Skype’ in its search field.
Next is to click on Skype section in the shown results. And click on Install button as here mentioned:

After you click to install, the installation will be done in next 1 or 2 minutes depending on your internet speed. Once done, you can easily enjoy its features.
Approach 2: Install Skype Using Apt Command
The another approach to install Skype on your Ubuntu desktop is to download official DEB package from Microsoft APT repositories and install the package using APT command. Just visit the Official Site of Skype, and select “Get Skype for Linux DEB” option in shown drop down.
Alternatively, Open your terminal and run the following command to download DEB package using wget command:
wget https://go.skype.com/skypeforlinux-64.deb
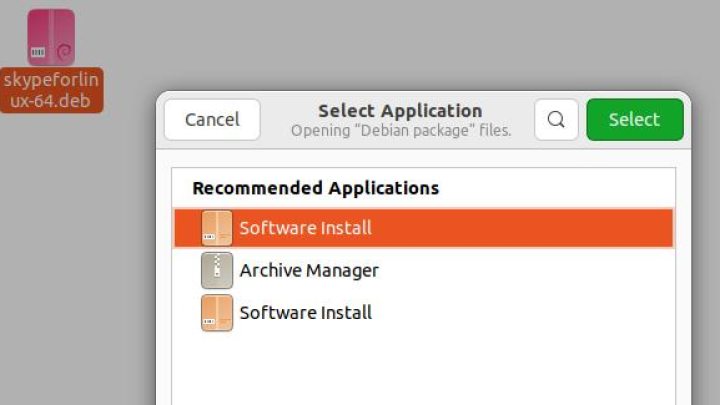
Once the download completes, you can easily install the Skype .deb package with apt command, just run the command here:
sudo apt install ./skypeforlinux-64.deb
Installing the app with sudo privileges will ask for your password, just enter the password and the installation will complete in a few next minutes.
Important Note

While installing Skype on Ubuntu desktop using command line, the official repository will be added to your system. So, in case if a new version is later released, you can easily update the Skype to latest version with the following commands:

sudo apt update
sudo apt upgrade
Approach 3: Install Skype Using Snap
The another easy approach to install Skype on Ubuntu desktop computer is to install the snap package. If you are using the OS version older than 18.04, you can install Snap by running the commands here in terminal. However, those who are using Ubuntu 18.04 or newer versions, need to do nothing as Snap is already installed on their OS versions.
sudo apt update
sudo apt install snapd
After the installation, we suggest you to restart the computer once to take the changes in effect. After this, just run the command here to install Skype snap package easily.
sudo snap install skype
Approach 4: Install Skype Via Flatpak
Here’s an another method to install applications on Ubuntu Linux based computers and that’s to use Flatpak. Since this package manager is already installed on this Linux distribution, you just need to add Flathub remote first with the command below:
flatpak remote-add --if-not-exists flathub https://flathub.org/repo/flathub.flatpakrepo
After this, install Skype flatpak package easily with the command line:
flatpak install flathub com.skype.Client
Alternatively, Visit Flathub Official Site here, and click on Install button to install Skype flatpak more easily.

That’s it. You can run flatpak version of Skype through command line as well by using below command:
flatpak run com.skype.Client
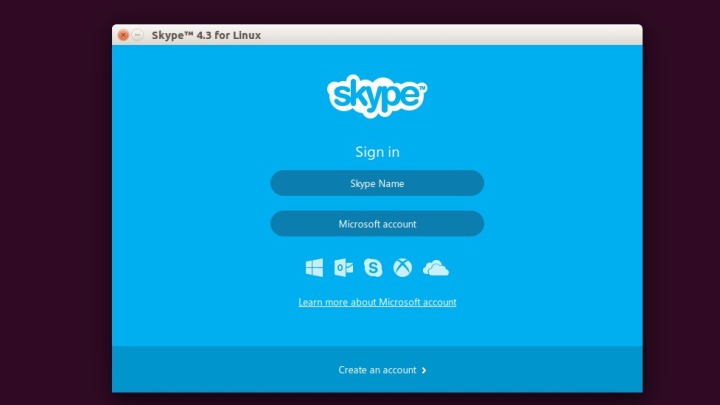
Launching Skype on Ubuntu
Since you have successfully installed Skype package on your Linux platform, you can easily access the app from Applications menu. Just search the app by its name, and click on its icon when appears.

Now, you can easily sign in using Microsoft Account to enjoy Skype features easily to connect with your friends and family worldwide.
Conclusion
Skype is a well known social media platform allowing users to connect with friends and family over video call much easily. Its daily improving features offers a lot to users, even making international phone calls is very cheap. And this tutorial might helped you to learn various approaches to install Skype on Ubuntu desktop easily. Do share this tutorial with your friends. If you have any question, you can click to Visit Our Discussion Board.

Nishant Verma is a senior web developer who love to share his knowledge about Linux, SysAdmin, and more other web handlers. Currently, he loves to write as content contributor for ServoNode.


