This tutorial here is subjected to those who are having issues with their WordPress installation and want to re-install WordPress manually or through some other methods as well. This article can easily help them doing so to fix various problems with a WP site.
In case if your WordPress website or blog is having a bad time and running with issues, you can check through different methods in order to solve those problems. However, if all such measures are unable to fix your site issues, then one of the potential fix is to reinstall WordPress to make sure the issues are not caused by corrupted WP files, database, and so on.
Reinstalling WordPress mainly requires you to clean all core WordPress files without affecting your existing (user related) content. And through the steps we have discussed here under this article, will help you to uninstall and reinstall WordPress without affecting your own data or SEO as well. At first, check out why we need to reinstall WordPress.
Why To Reinstall WordPress?
Uninstalling and reinstalling WordPress might be one of the potential fix to resolve issues on WP site or blog, however it should not be the first option. If your site is running with issues or errors, then you first try to fix those with corresponding fixes. In most of the cases, the top common WordPress errors can be fixed easily and is discussed in our previous article.
Means, if all possible fixes failed to make your WP site working normally again, you should seek to reinstall WordPress site for which the required steps are here mentioned.
Step 1: Create Backup of WordPress Site
Before you do any changes to your WordPress installation, it’s a good practice to create complete backup of your site. Do make sure to keep the backup saved on your local machine or even on cloud network storage such as Google Drive or Dropbox. Although, we are not going to use this backup to reinstall WordPress, still it’s recommended to meet emergency if something goes wrong.
Step 2: Export All WordPress Content
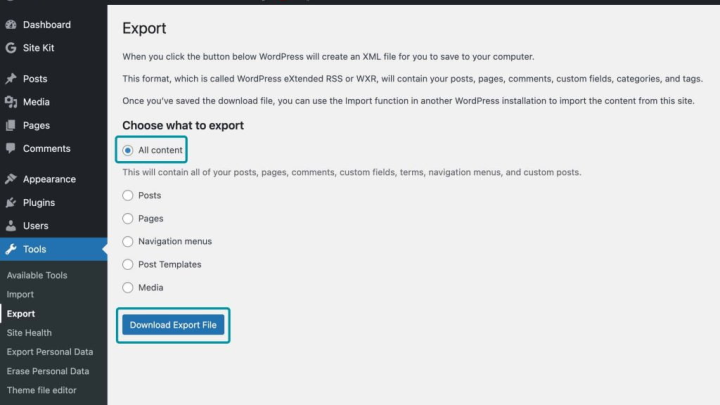
Once you are ready with a backup stored on cloud or local machine, you should start exporting your WordPress content through creating WP export file. In this file, all your posts, pages, categories, tags and comments will be stored.
Using this exported file to restore your site later actually helps you to exclude all data created by plugins on your site. In order to export all content on your site, log in to WP admin area and navigate to Tools > Export option. Once inside, select all content and click on “Download Export File” button as mentioned below:
Check this article to export registered users on your website if your site have many registered users.
Step 3: Download All Content in Wp-content Directory
Since all your uploaded contents in WordPress like themes, plugins, images, etc are stored within domain.com/wp-content/ directory, it’s necessary to download all such contents too on your local computer, which we will use later while reinstalling WordPress.
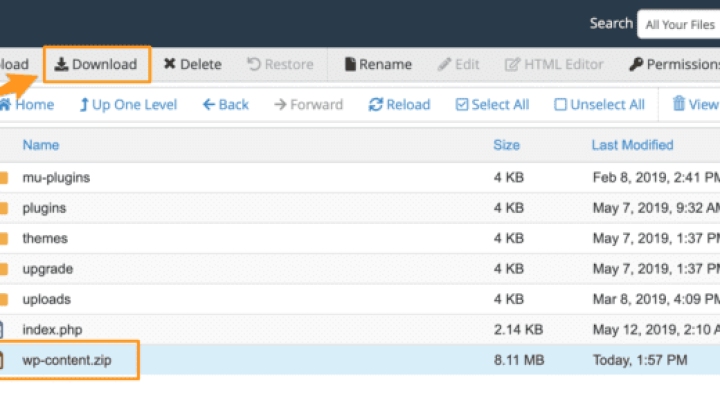
In order to download the contents within wp-content, connect your site through FTP or File Manager in cPanel, and navigate to directory where the site is installed. Now, select wp-content folder and click right button to select Download option to start the download process.
Important Note

In order to download the wp-content folder easily, you can also create a .zip file of directory, then download it on your system. This saves time and resources as it needs you to download a single file only.
Step 4: Uninstall WordPress Installation
In this step, we will uninstall WordPress files and this can easily be done by connecting your WP site through FTP client or File Manager in cPanel. Once you are logged in, navigate to site’s main directory, and Select all and delete every files within it.
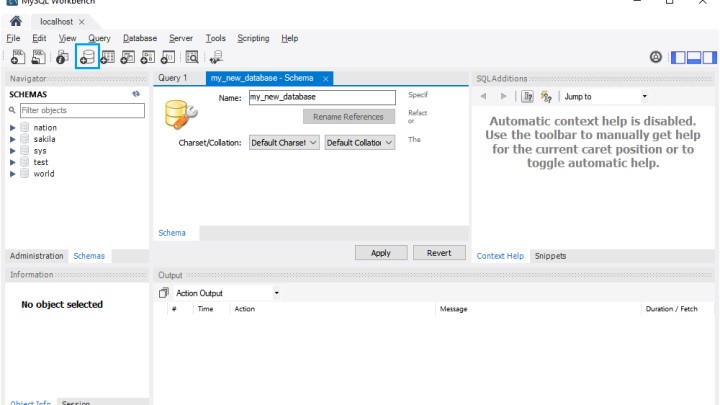
Since the WordPress requires a MySQL database as well to work properly, it’s also necessary to create a new database with a new username and password. In order to create a new database, login to cPanel, and navigate to MySQL Databases icon under Databases section.
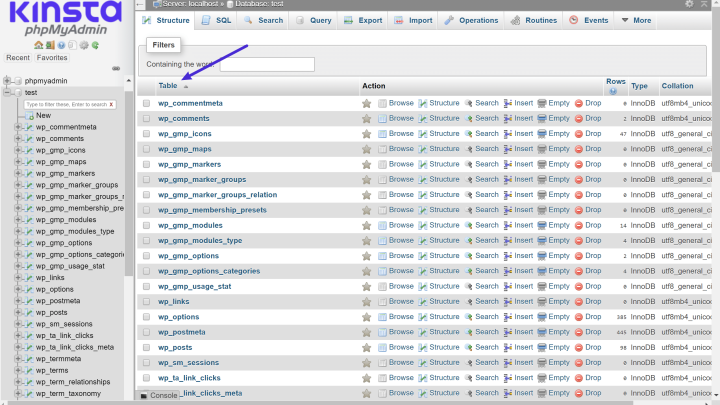
As mentioned below, you need to enter a new name for a new database and click on Create Database button.
Once created, you need to create a new user. Just scroll down the page to “MySQL Users” section. Enter a preferred username and password according to your choice, and click on “Create User” button.
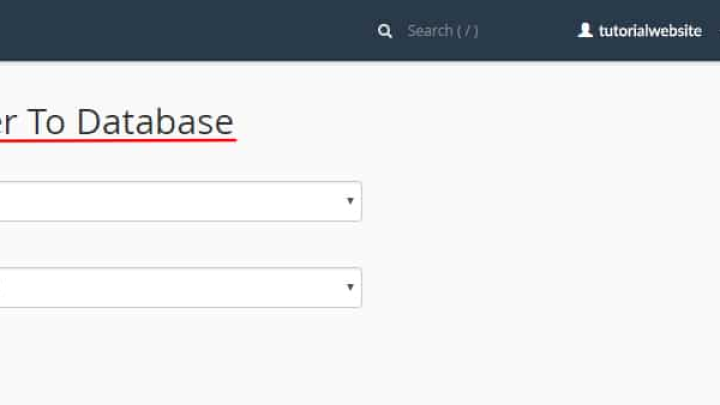
Lastly, you need to assign the newly created user to the database we just created. In order to do so, scroll down to “Add user to database” section and select the username and database you just created. Once done, click on “Add” button.
Till here, you have uninstalled the WordPress files completely and ready to reinstall and restore it back with all your contents. Check through further steps.
Step 5: Install Fresh WordPress Files
To do fresh install of WordPress for your site, download copy of WP core files from WordPress.org site.
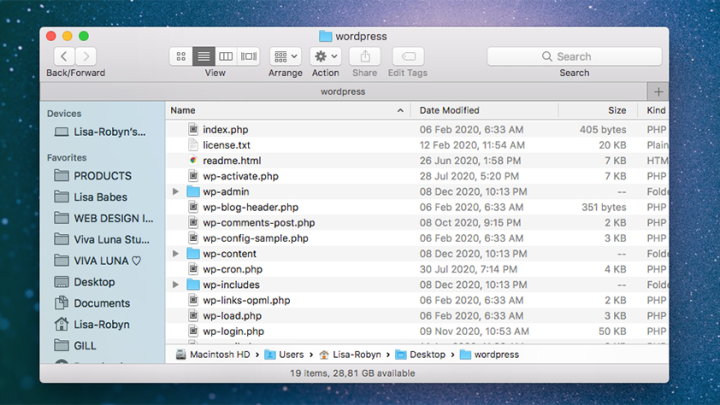
This will download a zip file, which you should unzip and upload all its files and directories within installation directory. To upload the files, you can use either FTP client or File Manager as well. Also, you can upload the whole zip file to installation directory, and unzip the file there, it will save your time as it need just to upload a single file.
Once the file is uploaded, open the browser and browse your site. It will open WordPress configuration page asking you to enter database related information.
Just enter previously created database, username, and password in the fields displayed. Leave the Database Host value to be ‘localhost’. Once done, click on “Submit” button. Clicking the button will allow WordPress to connect with your database, after which it shows a success message on screen. If not, do check the entered database details once again. After the database is connected, you will be shown with following screen. Just click on “Run Install” button to proceed further.
Now, the WordPress will show another page where it will ask you to feed site related information such as site title, description, administrator email ID and password. So, fill out all details and click on “Install WordPress” button to continue.

After the WordPress installation is successfully done, navigate to WordPress admin area and enter your login credentials by supplying username and password.
Important Note

Since you have installed a fresh copy of WordPress, and you need to restore your previous contents back, we suggest you to delete all default new contents like default posts, pages, and comments. Once done, you can start restoring your old contents back.
Step 6: Upload Old Wp-Content Items and Import Content
As you need to restore your previous contents, the first thing you should do is to restore your previous uploads, images, and themes located in wp-content directory, which we downloaded in the earlier steps.
Just connect your WordPress using FTP client and navigate to wp-content folder. And upload all its items which you have downloaded on your system including uploads, themes, and plugins.
After you have successfully uploaded all items within wp-content directory, you need now to import posts, pages, and all other contents which you have exported earlier. To import the content, login to wp-admin section and navigate to Tools > Import and click on “Install Now” link under WordPress section.
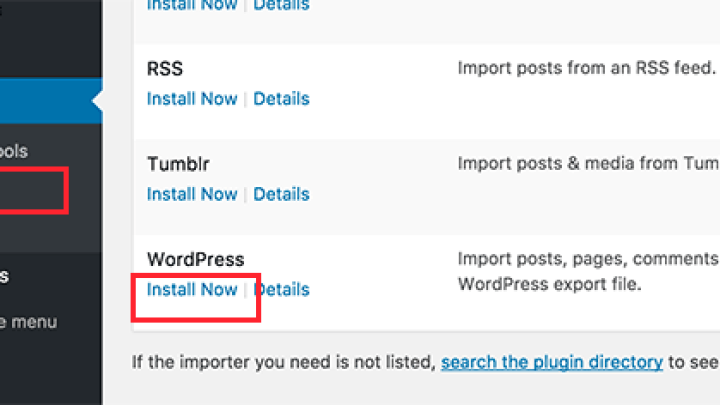
This will download and install the WordPress Importer. Once the installation is done, click on “Run Importer” link, and it will open the importer page. Here you can click on “Choose File” button and select the XML file (exported file).
After the selection, click on “Upload file and import” button to proceed. When completed, you will be asked to create new authors and assign posts to them. Also, you can assign all post to your current user as well if your site has just a single user.
In order to make the images working properly, it’s also recommended to make sure checking the box under ‘Import Attachments’. This will actually import images from uploads folder in wp-content directory properly to WordPress media library. Once done, click on Submit button.
Once these steps are done, you can check your content and images by visiting the site through browser.
Step 7: Install and Activate Plugins
After the reinstallation of WordPress, you have successfully imported your previous content and images till here. Now, it’s turn to activate all plugins one by one. Since you have uploaded all previously used plugins as well through plugins directory in wp-content, you just need to activate them one by one. To do so, navigate to Plugins option in Wp-admin area, and activate them. Once activated, do make sure to check if the plugins are working properly.
That’s all, you have now reinstalled WordPress site along with all its previous contents, themes, images, and plugins.
Final Thoughts
It’s often required to reinstall WordPress site (WP core files) in order to fix some unresolved issues, and this article has shown all required steps to do installation easily. Do share this tutorial with your friends. If you have any question, you can click to Visit Our Discussion Board.

Nishant Verma is a senior web developer who love to share his knowledge about Linux, SysAdmin, and more other web handlers. Currently, he loves to write as content contributor for ServoNode.
